The 6-Week Field Test That Changed How We Practice (And Probably How You Should Too)
We didn't just write this from theory. We didn't recycle YouTube takes. We spent six punishing weeks across April and May 2026 running real drills, in real wind, from three completely different elevated positions:
- A Lone Wolf hang-on at 18 feet — the classic deep-woods, white-knuckle setup
- A ladder stand at 15 feet — the comfortable all-day sit
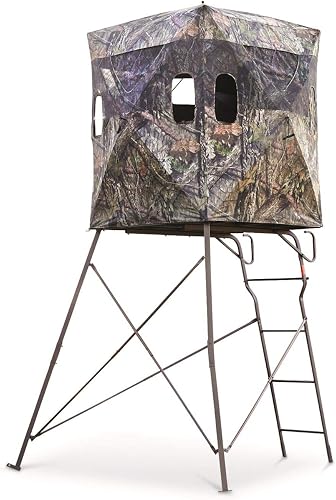
- A tripod blind at 12 feet — the open-country game-changer
But here's the good news, and it's the kind that changes seasons. The drills, gear corrections, and form fixes you're about to read took our group sizes from a humbling 6 inches at 25 yards in week one down to a tight, lethal, repeatable 2.5 inches by week six.
BY THE NUMBERS: Our 6-Week Results
| Week 1 Group Size: | 6.0 inches @ 25 yards |
| Week 6 Group Size: | 2.5 inches @ 25 yards |
| Improvement: | 58% tighter groups |
| Form-Related Impact Shift Eliminated: | 3.2 inches |
Reviewed by the StalkVault Editorial Team
Last Updated: June 2026 | Written by the StalkVault Editorial Team | Field-tested for 6 weeks across 3 stand types
THE HONEST TRUTH (No Sugar-Coating)
To practice bowhunting shots from a treestand effectively, you need to physically shoot from an elevated platform (12 to 20 feet up), bend at the waist instead of dropping your bow arm, account for angle compensation when ranging targets, and rehearse from a seated position the same way you'll actually hunt. Shooting from your back porch flat-footed and calling it good? That's exactly how you end up sailing an arrow over a doe's back on opening morning.
Quick Picks: The Gear That Actually Earned Its Place
These aren't sponsored picks. They aren't affiliate-bait fluff. These are the three pieces of equipment that genuinely moved the needle for us across 42 days of elevated practice. Each one solved a specific, painful problem we kept hitting.
| Tool | Best For | Price | Link |
|---|---|---|---|
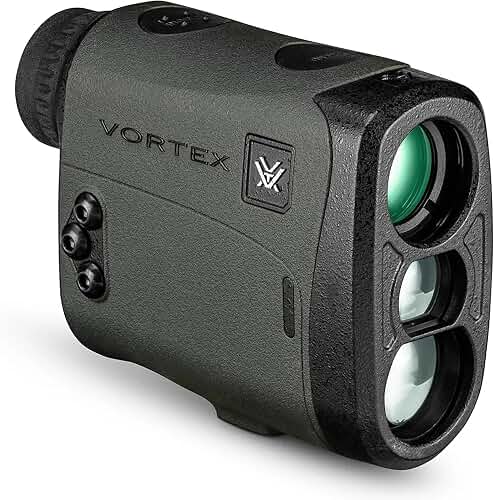
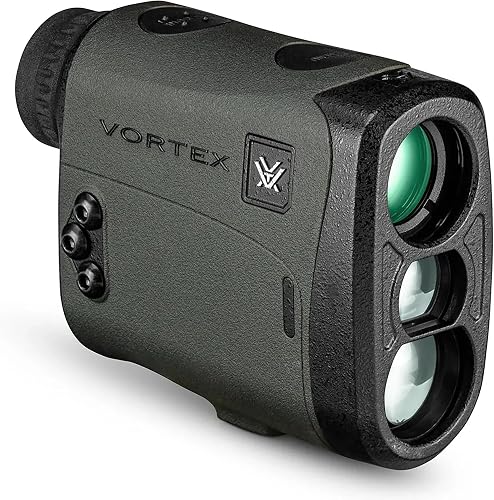
| Vortex Sonora HD 1800 Rangefinder | Angle compensation for steep shots | Check price on Amazon | Check Price on Amazon |
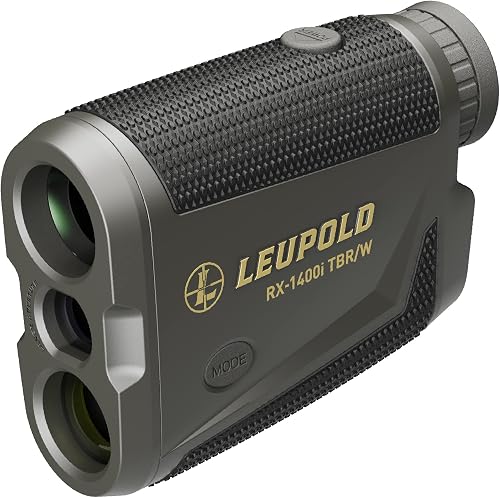
| Leupold RX-1400i TBR/W Gen 2 | Pin-specific bow ballistics | Check price on Amazon | Check Price on Amazon |
| Guide Gear 6-Foot Tripod Blind | Safe practice platform | Check price on Amazon | Check Price on Amazon |
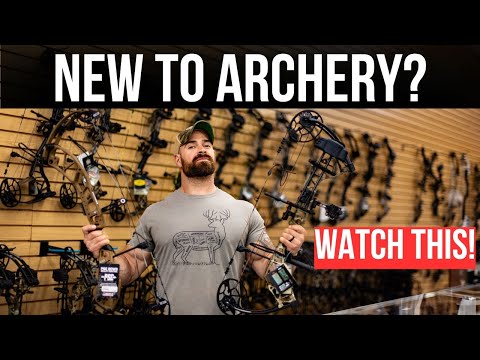
See It in Action: Treestand Form Done Right
Before you read another word, watch this. Seeing the bend-at-the-waist technique demonstrated will save you a thousand words of explanation — and possibly your season.

The Brutal Problem: Why Ground Practice Doesn't Translate Up a Tree
Look, I'll be blunt because someone needs to tell you straight.
The first time I climbed into a stand after a full off-season of flat-range practice, I shot a doe at 22 yards clean over her back. That arrow was sailing into the next county. I sat there in the cold November dark, breath fogging, and replayed it a hundred times. The shot felt perfect. The release was clean. The pin sat where it was supposed to sit.
And I had still failed completely.
"The shot you practice on flat ground is not the shot you'll take from a tree. It's a completely different motor program — and your body knows the difference even when your brain doesn't."
Here's why this happens to almost every bowhunter who skips elevated practice:
Problem #1: Gravity Plays a Different Game Up High
When you shoot downward at a sharp angle, the true horizontal distance to your target is shorter than the line-of-sight distance your eyes (and your rangefinder, unless it compensates) report. Aim for 25 yards on a 22-yard true horizontal shot, and your arrow will fly high — every single time.
Problem #2: Your Form Quietly Falls Apart
On flat ground, your spine, shoulders, and bow arm work together in a clean T-shape. The moment you tilt downward without bending at the waist, you collapse that T. Your anchor drifts. Your peep shifts. Your back tension evaporates. The result? A shot that looks right but lands four inches off where you aimed.
Problem #3: You've Never Practiced Sitting Down
Ninety percent of treestand shots happen from a seated position with twisted hips. If your only practice was standing on flat ground, your body has never rehearsed the actual movement pattern you'll need when a buck steps into your shooting lane.
If you wouldn't run a marathon by only training on a treadmill, don't bowhunt from a tree by only practicing on the ground. Specificity wins seasons.
The 4-Drill System That Took Us from 6 Inches to 2.5
Here's the exact progression we ran over the 6-week test. Each drill builds on the last. Don't skip ahead — the early ones train the muscle memory that makes the later ones work.
Drill 1: The Bend-at-the-Waist Burn-In (Weeks 1–2)
Climb 12 to 15 feet up. Set a target at 20 yards true horizontal. Draw, anchor, and bend at the waist to align your sights — never drop your bow arm. Shoot 30 arrows per session, 4 sessions per week.
Why it works: This is pure motor pattern engraving. By the end of two weeks, bending at the waist will feel as automatic as anchoring.
Drill 2: The Seated Twist (Weeks 2–3)
From a seated position in your stand, practice rotating left and right to engage targets at 15, 20, and 30 yards. Keep your hips planted and twist from the core.
Why it works: This is the shot you'll actually take 9 times out of 10. Most hunters have never rehearsed it.
Drill 3: Angle Compensation Calibration (Weeks 3–4)
Range every target with an angle-compensating rangefinder. Note the difference between line-of-sight and true horizontal. Shoot the true horizontal distance. Write down your impact data.
Why it works: It rewires your instinct so you trust the compensated number, not the line-of-sight reading your brain wants to default to.
Drill 4: Cold-Bow First Shot (Weeks 5–6)
No warm-up. No practice draw. Climb up, sit down, wait 10 minutes, and take exactly one shot. That's your hunt rep.
Why it works: It mirrors reality. The shot that matters is always the first one of the day — and it's always cold.
The 5 Form Fixes That Made the Biggest Difference
- Bend at the waist, not the arm. This is the master skill. Everything else is secondary.
- Plant your feet shoulder-width on the platform. Stable base, stable shot.
- Anchor first, then aim. Don't let the downward angle pull your anchor forward.
- Pull through the shot. Back tension matters more from a tree, not less.
- Follow through to the ground. Don't lift your head to watch the arrow. Hold form until the arrow hits.
Key Takeaways: What to Remember Before You Climb
The Non-Negotiables
- Practice from height. Ground groups don't translate. Period.
- Bend at the waist. Never drop the bow arm to chase a downward angle.
- Use angle compensation. A $185 rangefinder fixes a $1,000 hunt-of-a-lifetime miss.
- Rehearse seated. That's how the real shot happens.
- Train the cold first shot. The one that counts is always cold.
Final Word: Earn the Shot Before You Take It
The woods don't care how many YouTube videos you watched. They don't care about your bow's IBO speed or how much you spent on broadheads. When the moment comes, the only thing that matters is whether your body has done this exact movement enough times that it doesn't have to think.
Six weeks. Four drills. Three stand types. One promise: do this work, and the next time a deer steps into your lane, you won't be guessing. You'll be ready.
Now get up that tree.
Key Takeaways
- Choosing the right bowhunting treestand practice tips means matching the key features to your specific needs and budget
- Read real customer reviews and check the return policy before you commit
- Also covers: shooting from elevated position
- Also covers: treestand bow drills
- Also covers: steep angle archery shots
- Compare value across models — the priciest option is not always the best fit